Case Study: SR4 Generator Overhaul
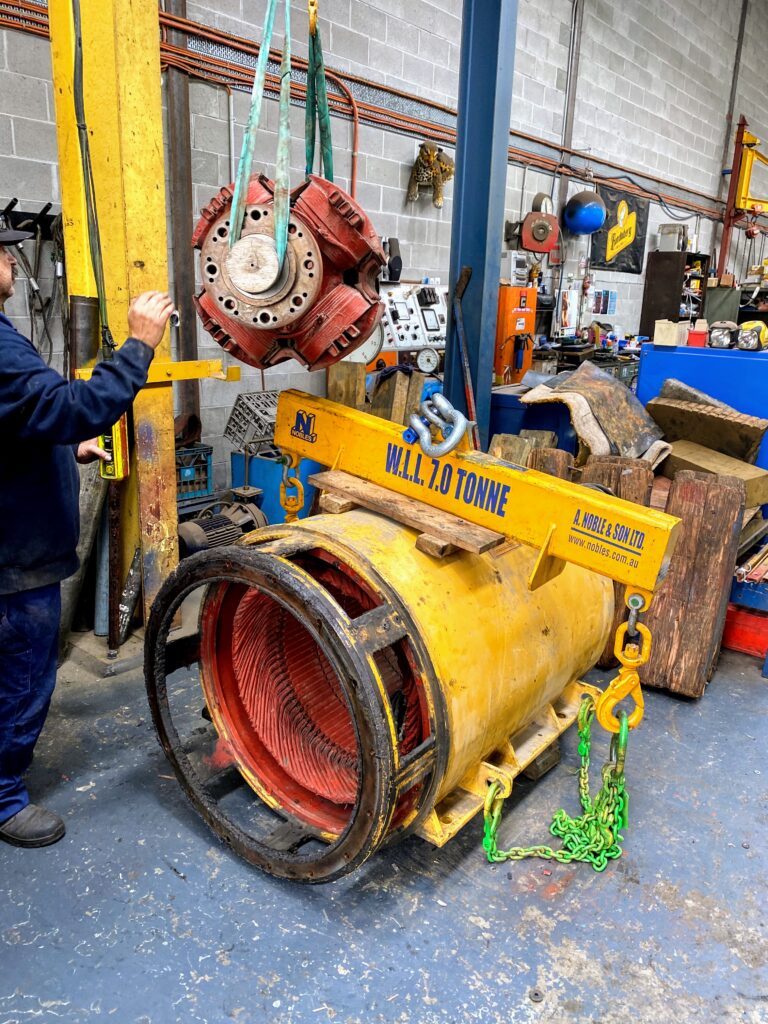
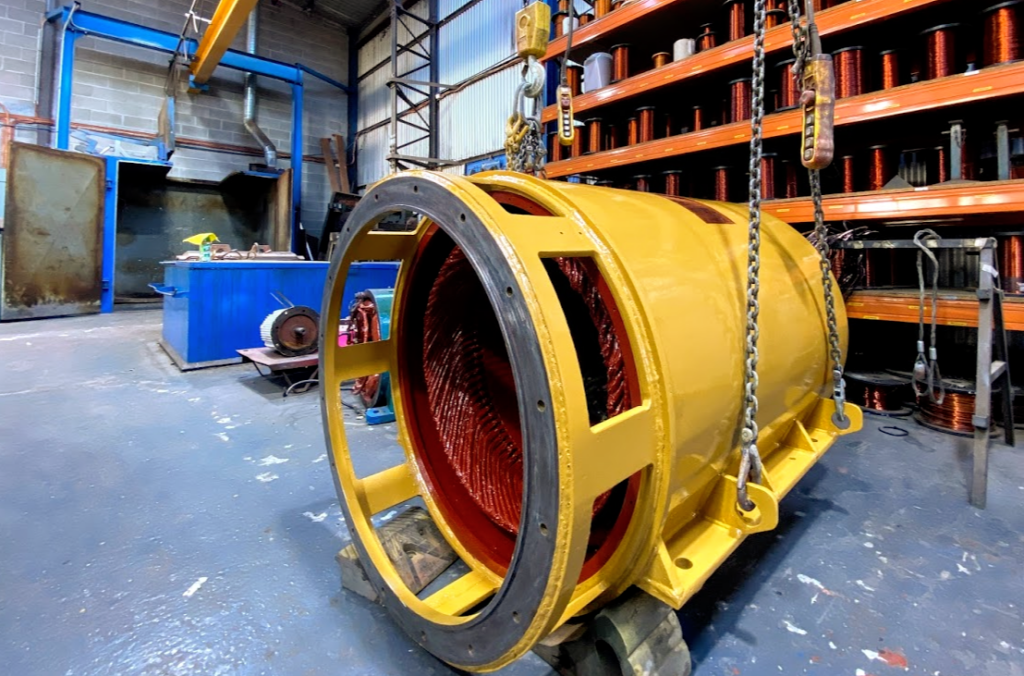
Removing the rotor from the stator for inspection, testing and cleaning
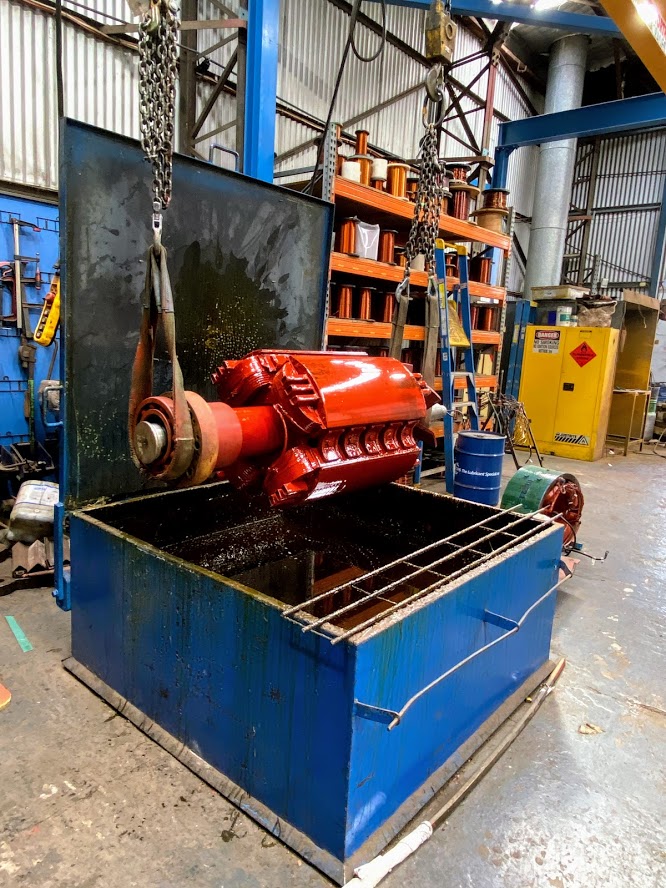
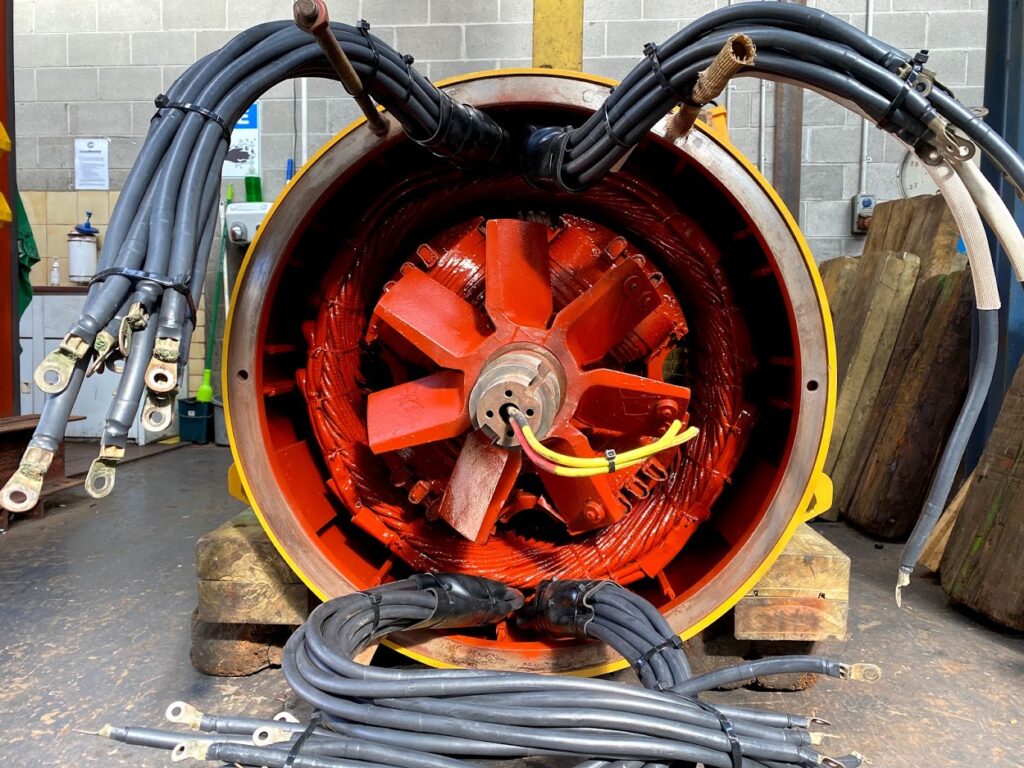
Rotor after steam-cleaning – we steam-clean the Rotor and all other parts to remove any contaminants before drying in the oven. Once the Rotor is completely dry we then test the rotor electrically
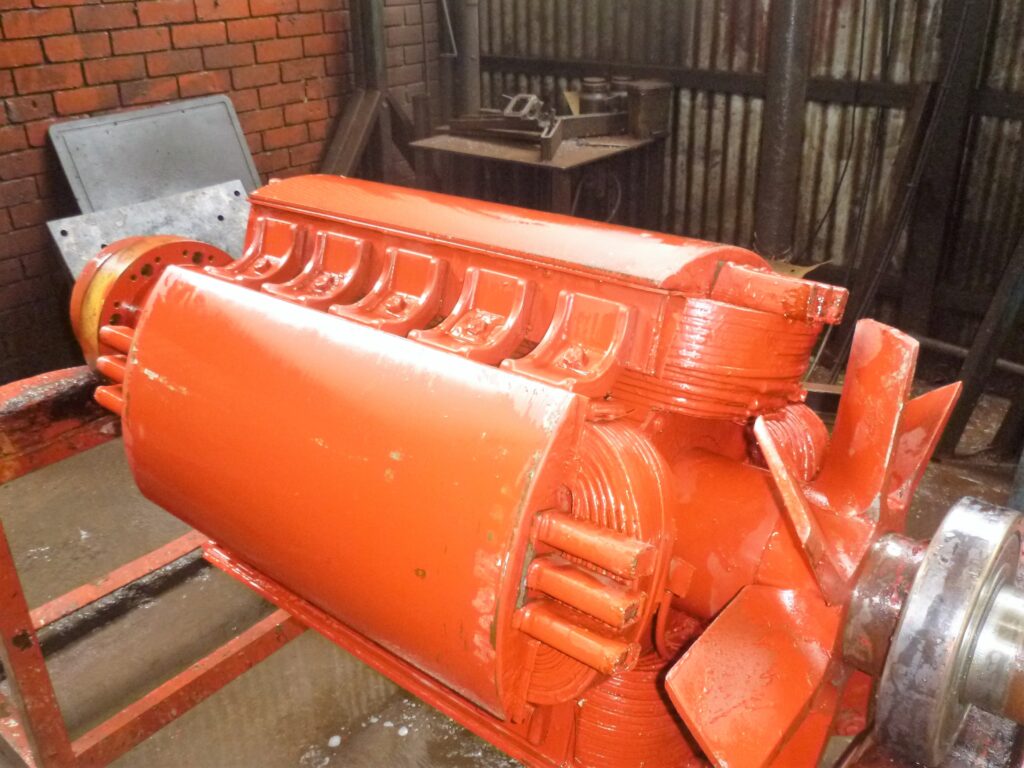
Rotor being varnished – once varnishing is fully complete we then dynamically balance the Rotor.
Stator after Varnishing – removing any imperfections over the spigots
Re-painting the stator
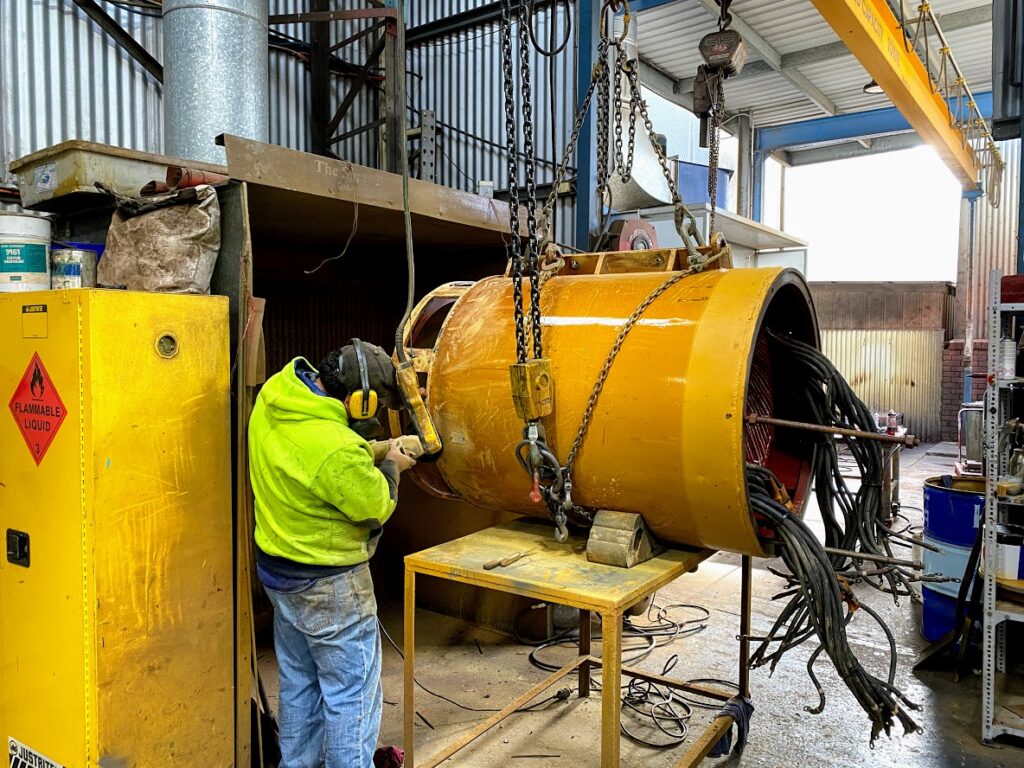
After the rotor has been balanced, we carefully insert it back into the Stator and re-sheath and re-lug the cable leads
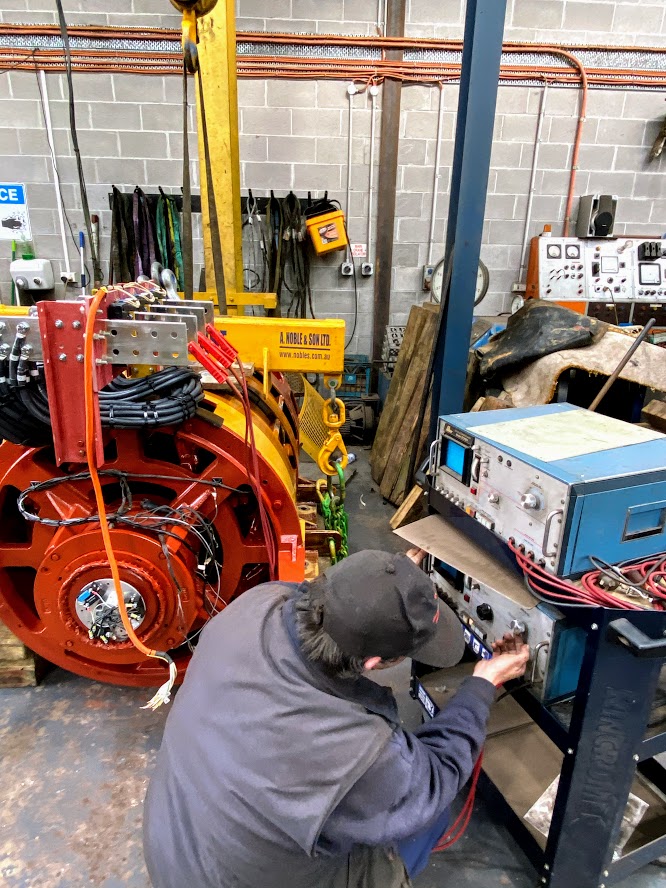
We perform a surge test to ensure that there are no shorts between the phases and/or down to earth
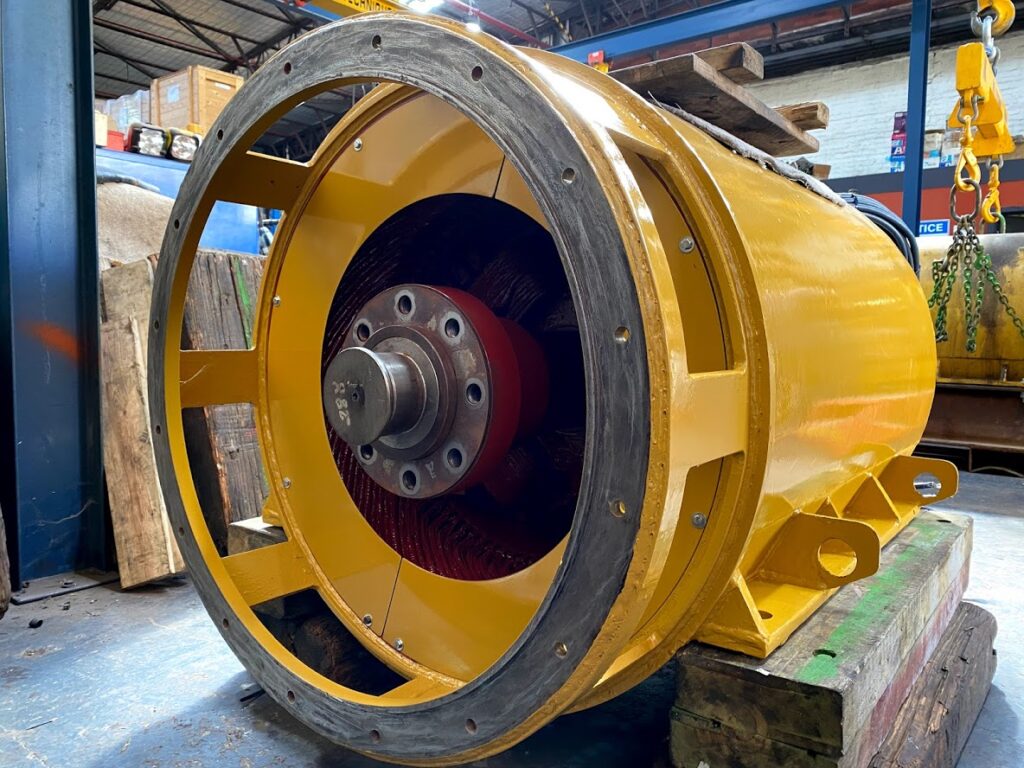
Generator ready for delivery after completed Overhaul