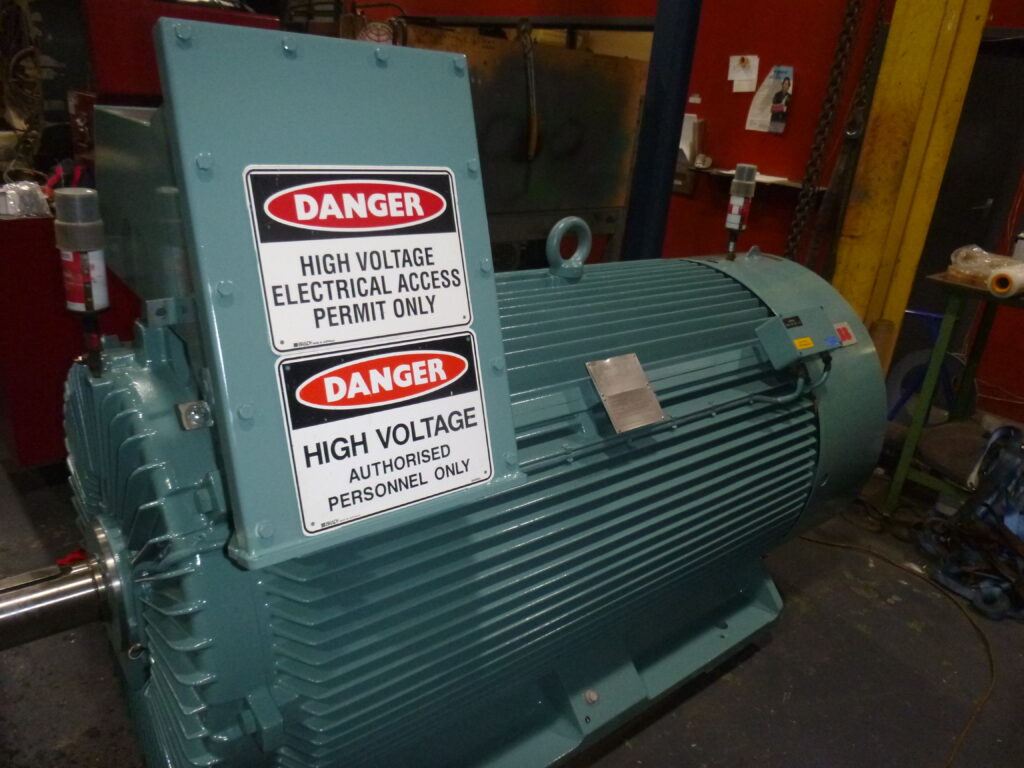
Case Study: AC High Voltage Overhaul
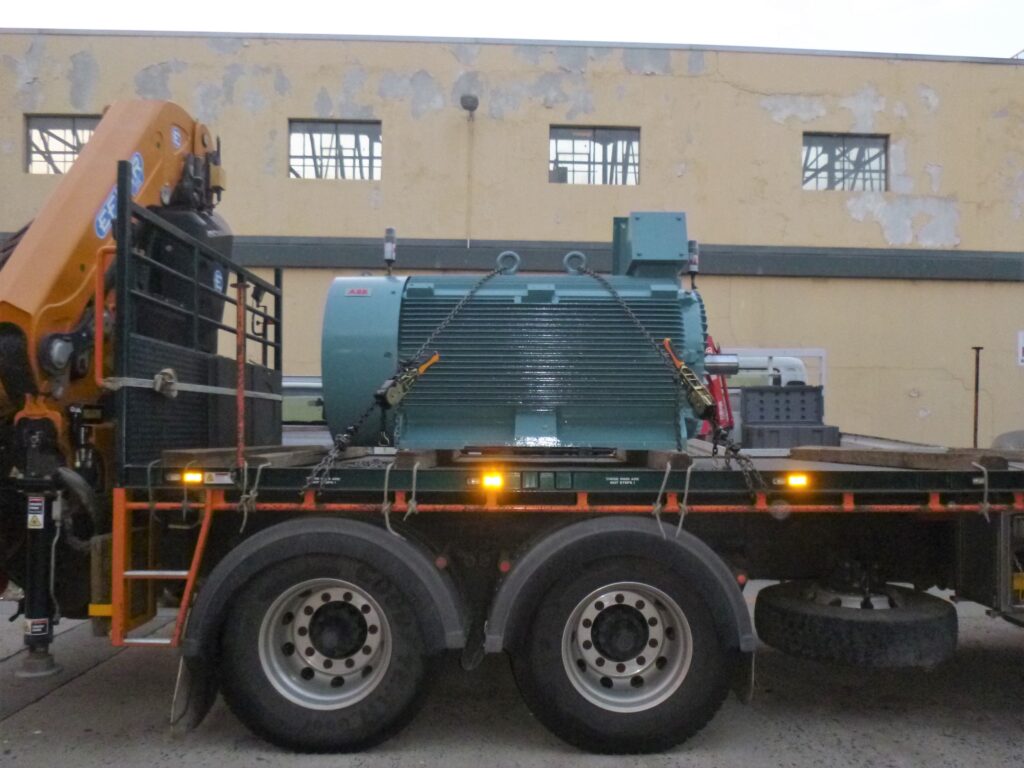
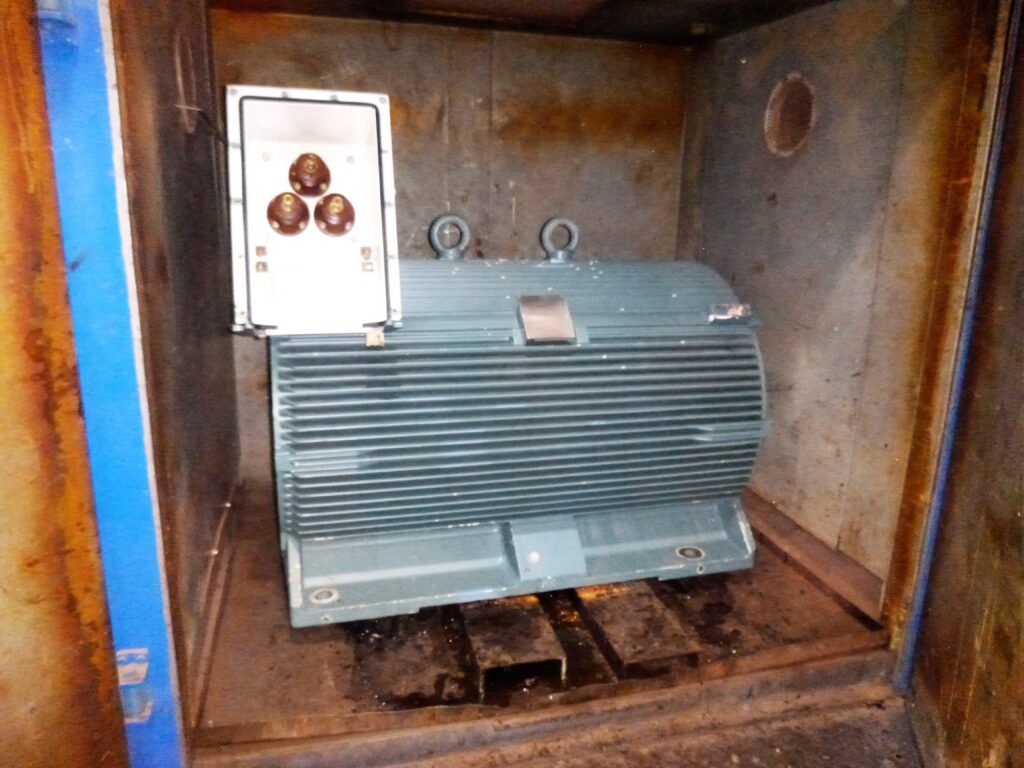
AC motor upon arrival, ready to be dismantled, inspected and tested.
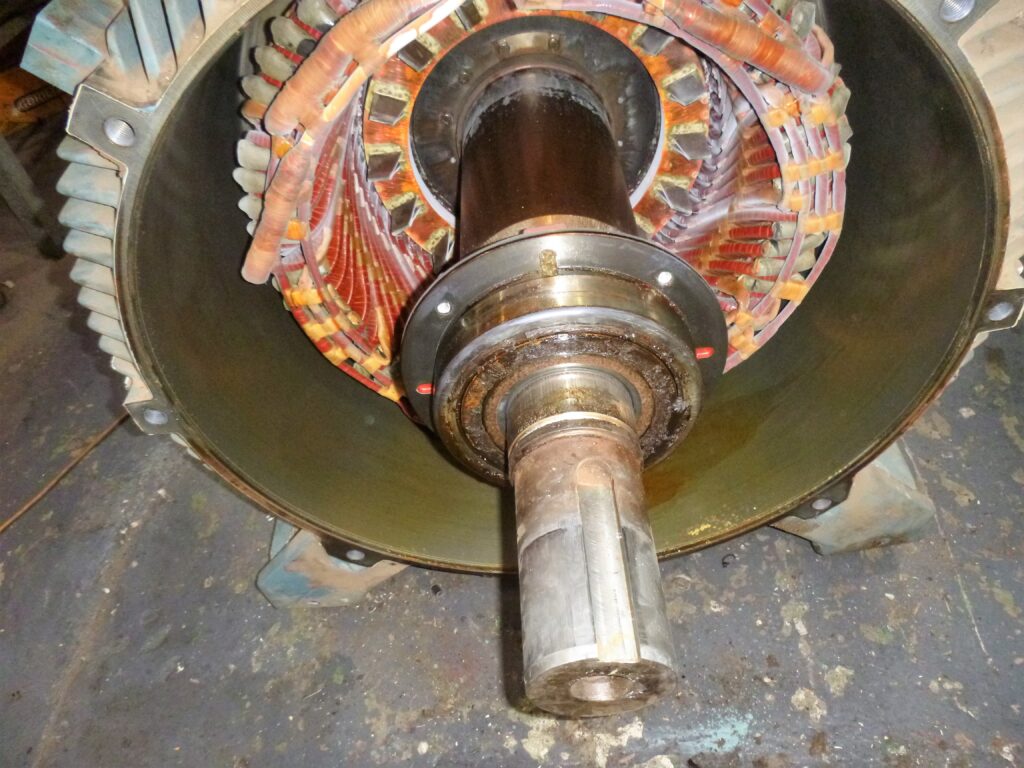
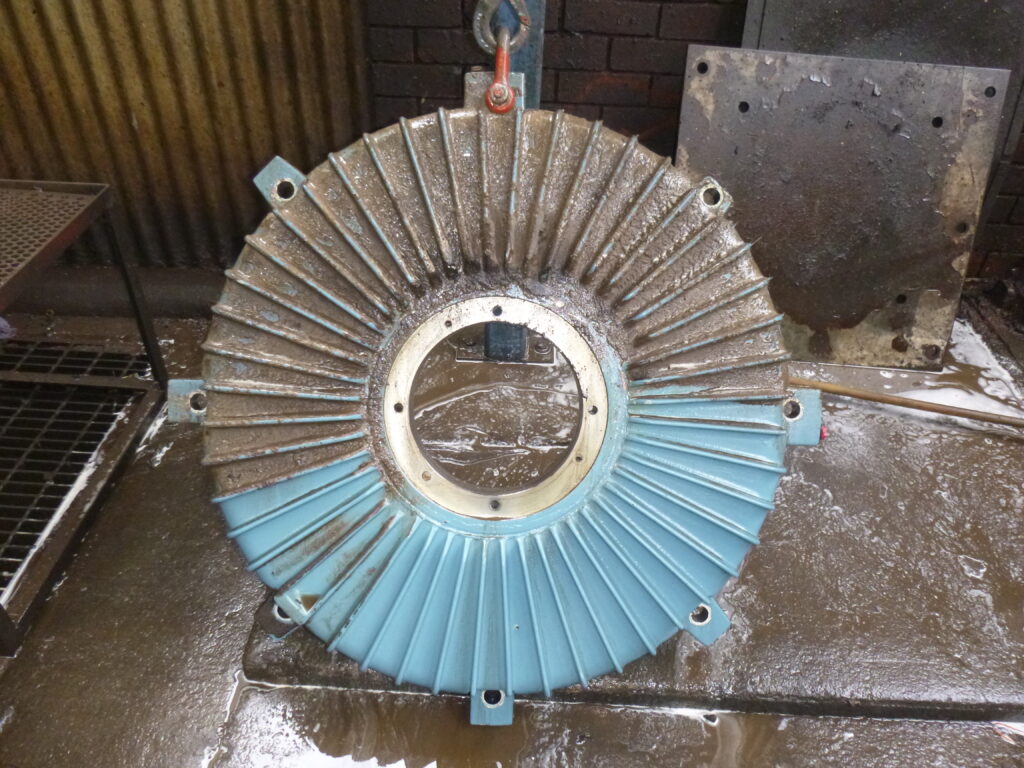
After the end shield has been removed the rotor is then ready to be extracted.
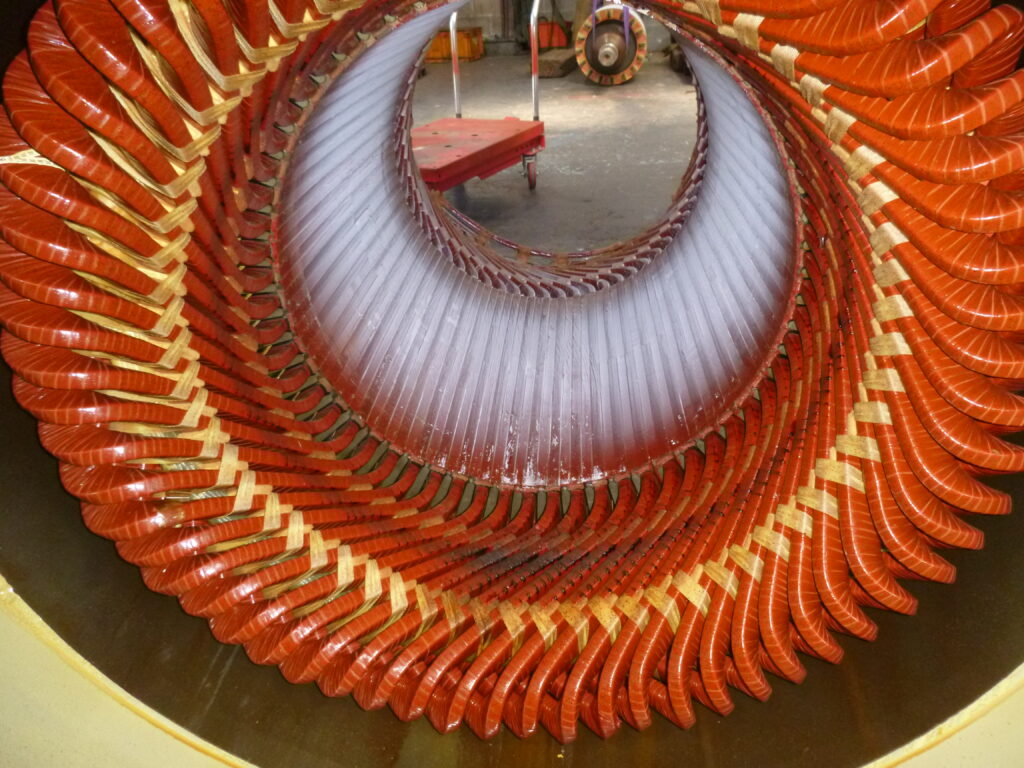
Once the rotor has been removed you can see the dirt and grime build up on the stator windings. After it’s been cleaned the stator is then revarnished.
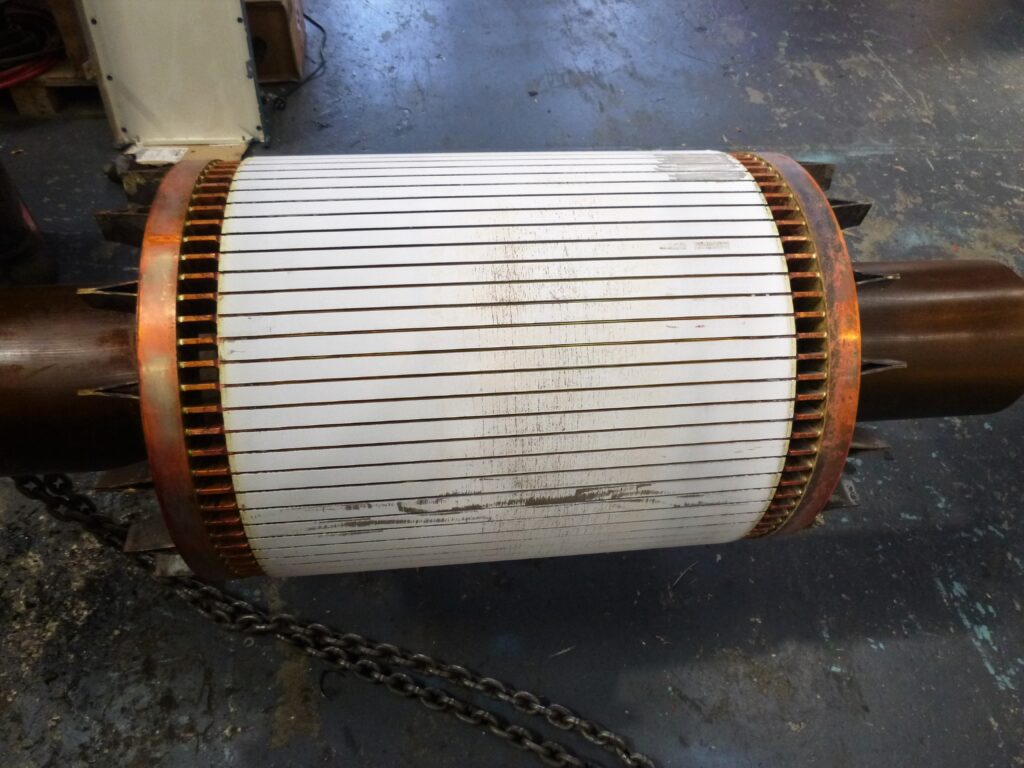
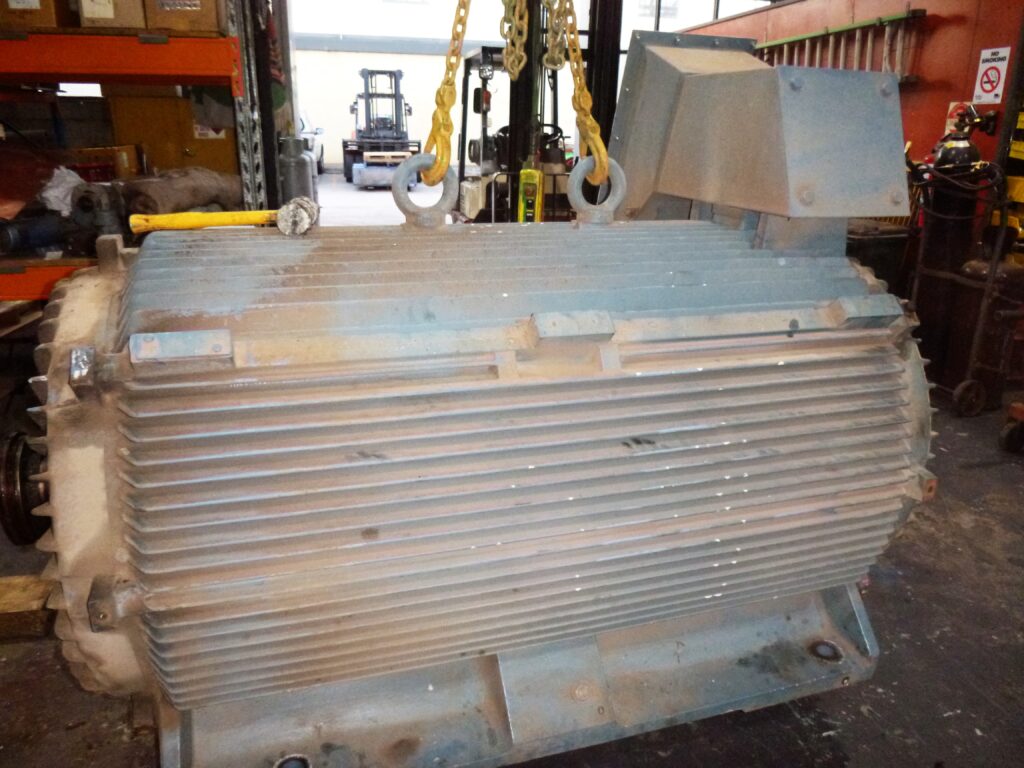
Removed rotor before cleaning, revarnishing and painting.
The windings and all other parts undergo steam cleaning to remove all grime.
We then oven dry the parts before all tests are completed to make sure the motor is running optimally.
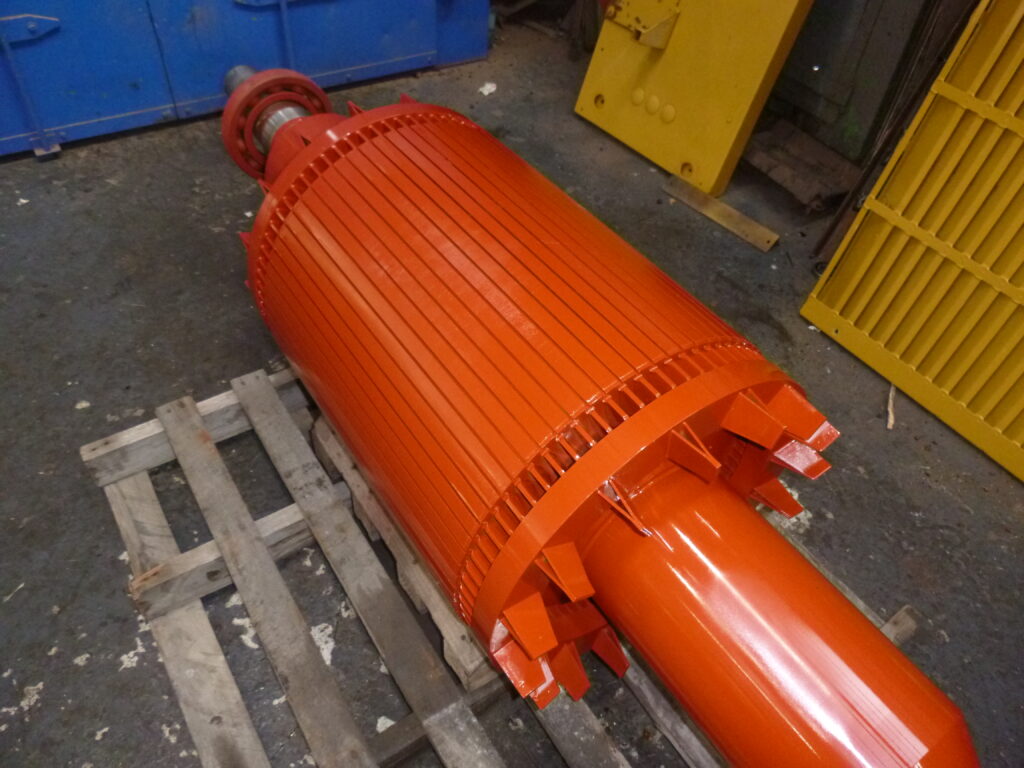
The rotor is sprayed with Isonel 300 class “H” air-dry anti-fungal varnish to protect against any dirt deposits and contaminates
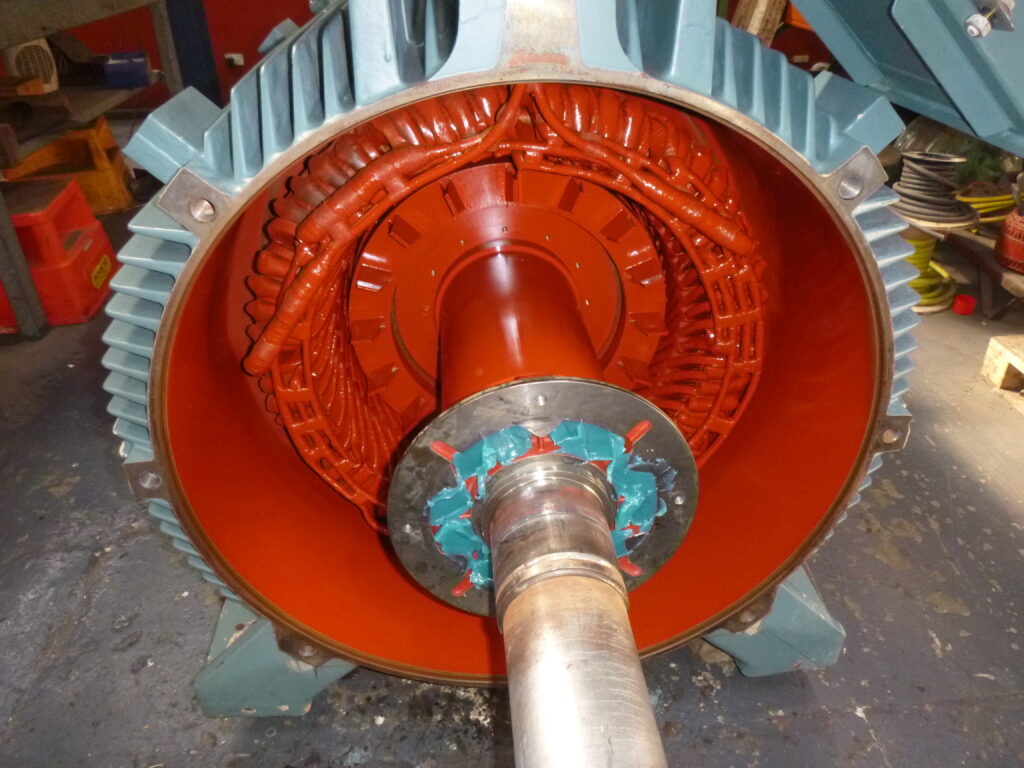
Once the rotor is then reinstalled back into the stator, newly greased bearings are also attached.
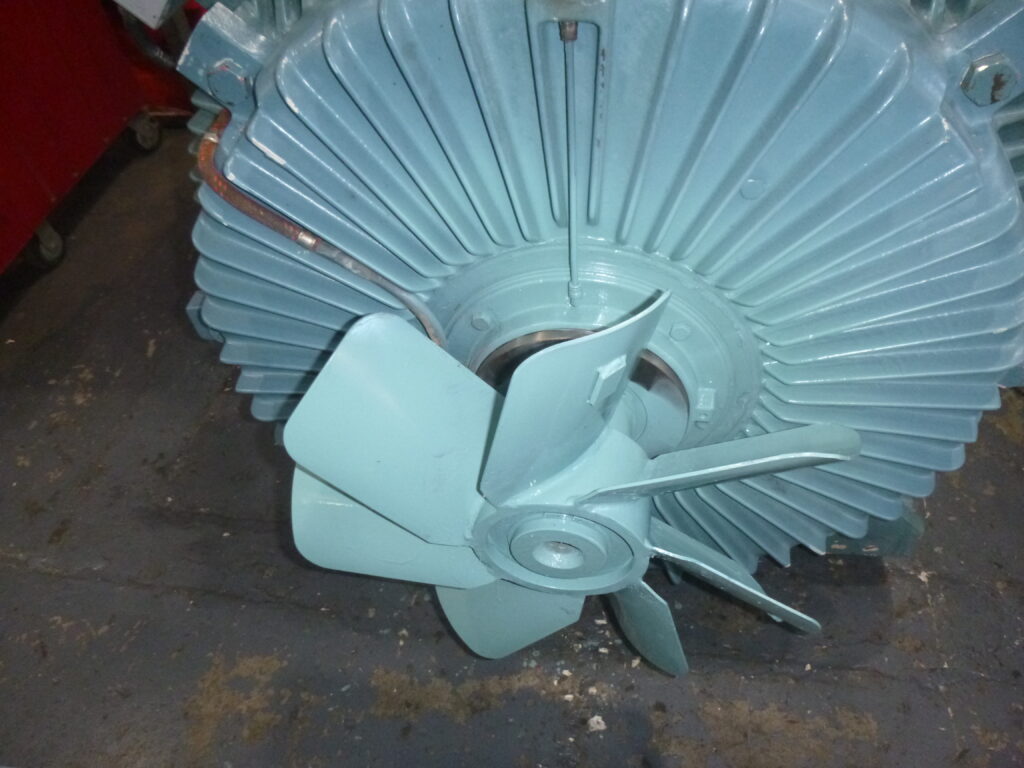
After the end shields have been reassembled the cooling fan and guards are added back on. The motor is then repainted, and prepared for dispatch.